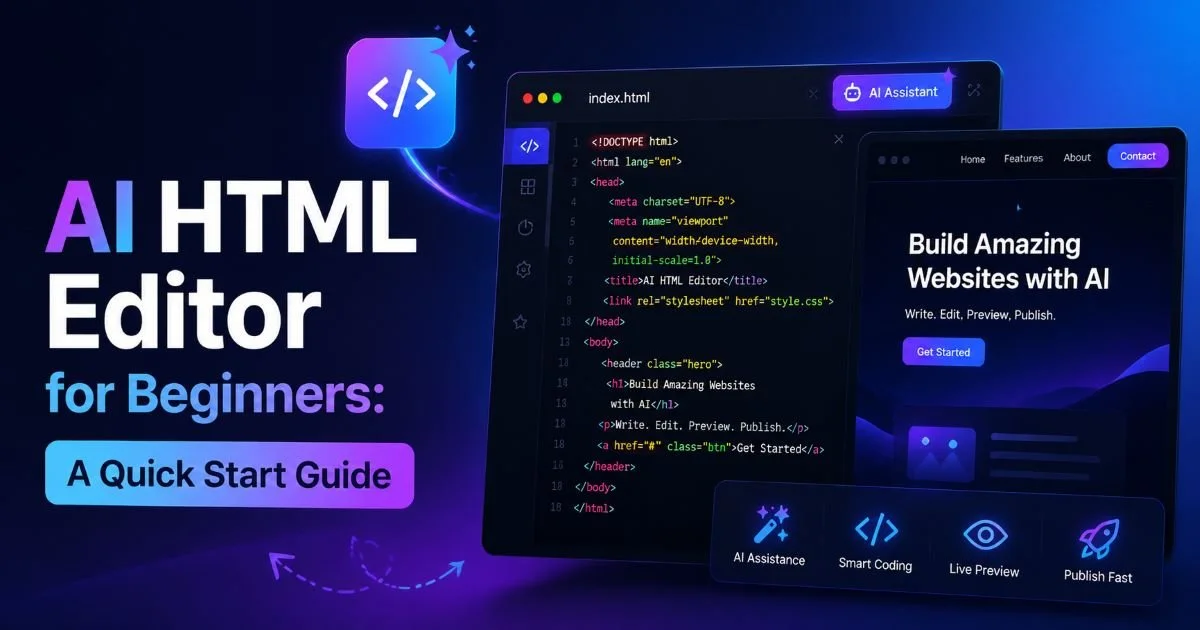
An AI HTML editor can feel like a lifeline when you're just starting out with web development. Instead of memorizing every tag, attribute, and nesting rule before you write a single line of code, you get a smart assistant that watches your back in real time.
The learning curve for HTML is already gentler than most programming languages, but beginners still hit walls: unclosed tags, broken layouts, accessibility oversights, and mystery whitespace that refuses to behave. That's where an AI-powered editing environment changes the workflow. It catches mistakes the moment they happen, suggests fixes, and even generates clean markup from plain-language prompts.
This guide walks you through the practical steps of getting started with one, so you can build your first pages with confidence rather than frustration. If you've been putting off learning HTML because the tooling felt intimidating, this is your starting point.
Key Takeaways
- AI HTML editors catch errors instantly, so beginners spend less time debugging broken code.
- You can generate clean HTML from simple text prompts without memorizing every tag.
- Real-time suggestions teach proper syntax while you work, accelerating the learning process.
- Switching between visual and code views helps you understand what markup actually produces.
- Built-in accessibility and validation checks prevent common mistakes before they reach production.
Step 1: Choose the Right AI HTML Editor
Not every editor calling itself "AI-powered" delivers the same experience. Some offer little more than glorified autocomplete, while others provide full code generation, error scanning, and guided fixes. For beginners, the difference matters enormously because a shallow tool still leaves you stranded when something breaks. Before you commit to any platform, spend ten minutes testing its free tier with a deliberately messy HTML snippet to see how it responds.
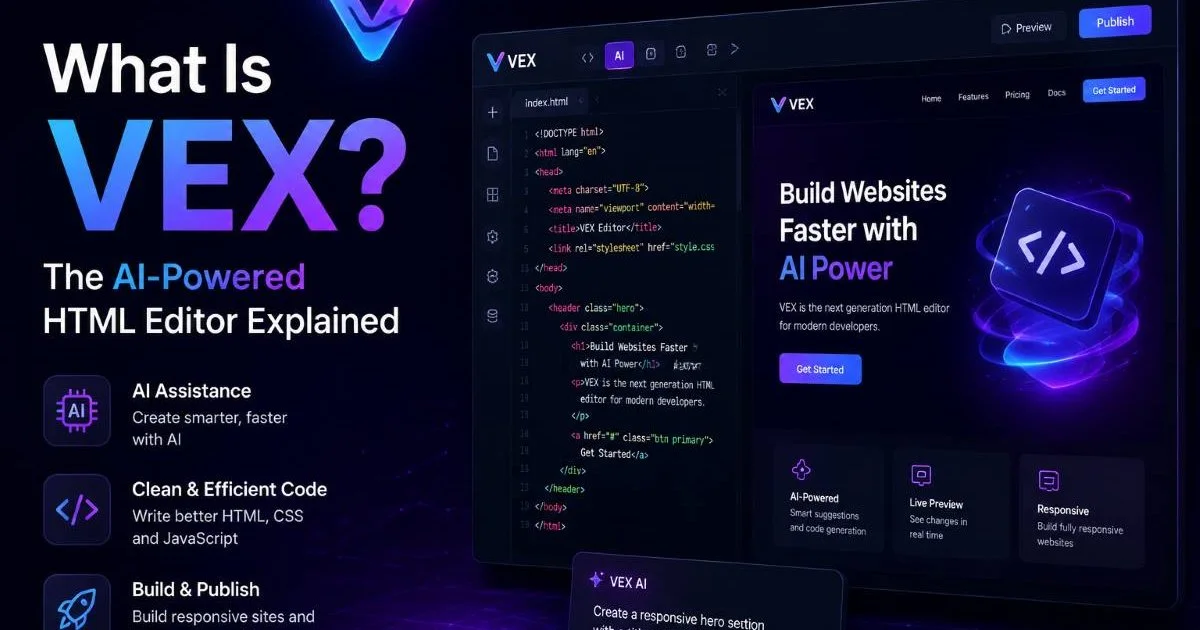
VEX, the AI agent built into the HTML Generator platform, is a strong example of what a beginner-friendly tool should offer. It scans your code, highlights problems, and walks you through corrections rather than just flagging line numbers. That teaching layer is what separates a useful assistant from a simple linter. You can read a deeper comparison of leading AI HTML editors to see how different options stack up on features, pricing, and ease of use.
What to Look For
Prioritize editors that offer both a visual canvas and a code view. Beginners benefit from seeing rendered output next to raw markup because it builds intuition about how tags translate into layout. Also check whether the editor validates HTML against current W3C standards automatically. Some tools only check syntax; the best ones also flag semantic issues, like using a div where a nav or article element would be more appropriate.
Cost is another factor. Many AI HTML editors offer free tiers that are generous enough for learning and small projects. Paid plans typically unlock higher generation limits, team collaboration features, and priority AI processing. For a beginner building portfolio pages or small client sites, a free tier is usually sufficient for several months of active use.
Start with a free-tier AI editor and only upgrade once you consistently hit generation or project limits.
Step 2: Set Up Your Workspace
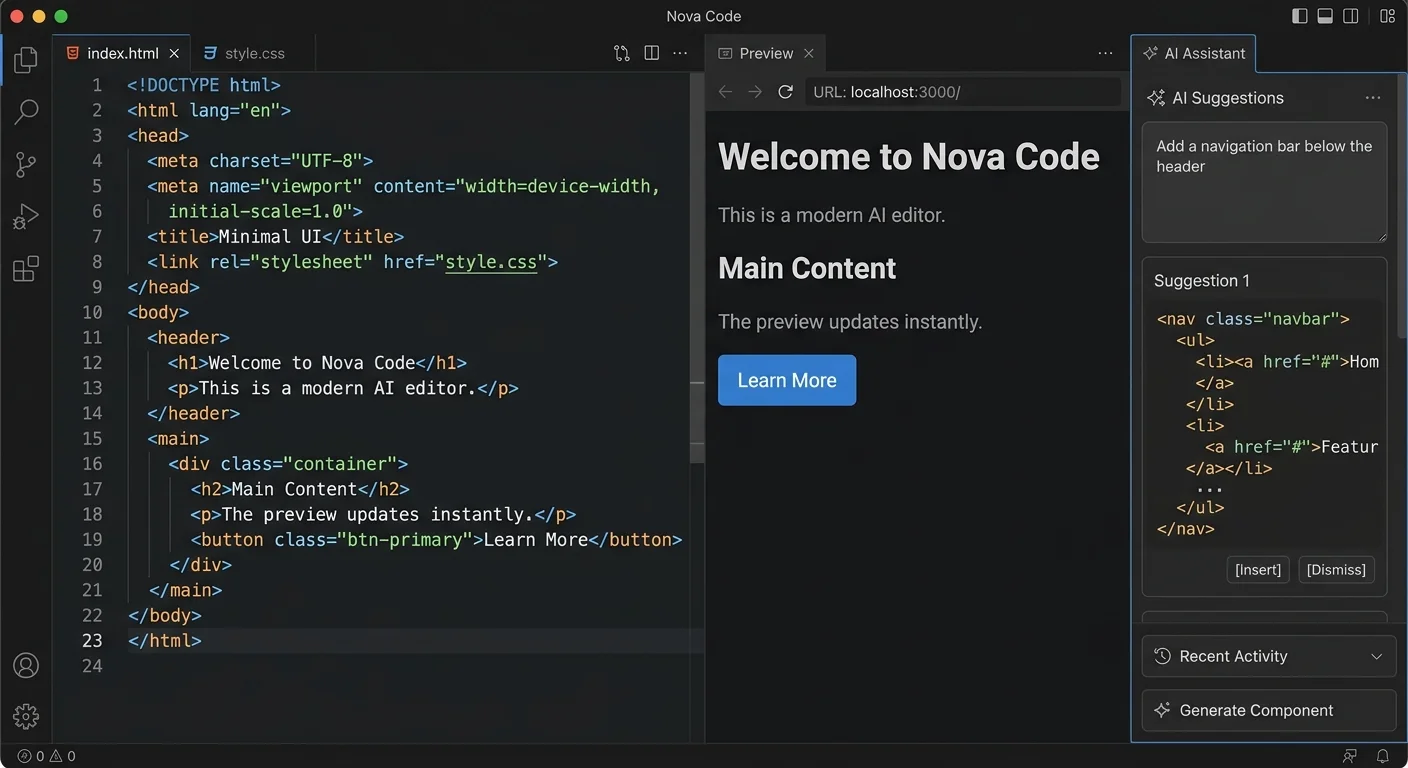
Once you've picked your editor, resist the urge to jump straight into a complex project. Take fifteen minutes to explore the interface. Locate the code panel, the preview panel, and the AI assistant panel. Most AI editors position these in a split-screen layout, but the exact arrangement varies. Understanding where to find error logs, suggestions, and output previews saves you from confusion later when you're mid-project and something breaks.
Create a dedicated folder on your machine (or a workspace inside the editor if it's cloud-based) for your learning projects. Name it something obvious like "html-learning" so you always know where your practice files live. Keeping projects organized from day one is a habit that pays off quickly. When you have ten or twenty experiments scattered across random desktop folders, debugging becomes a scavenger hunt.
Configuring Your First Project
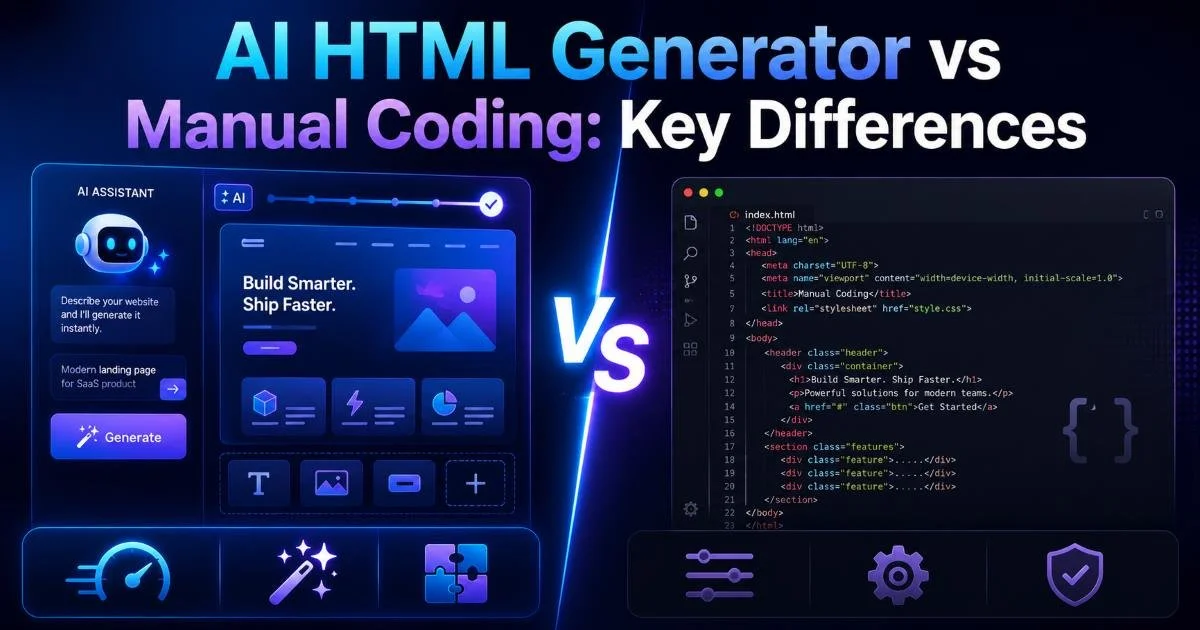
Start with a single index.html file. Don't add CSS or JavaScript yet. The goal is to learn clean HTML structure first. If your AI editor offers project templates, choose the most minimal one available: a basic HTML5 boilerplate with a doctype, head, and body. This gives you the skeleton without overwhelming you with code you don't understand yet. Understanding the difference between AI-generated and manually written HTML helps set realistic expectations for what the tool will handle and what you still need to learn.
Avoid starting with a full website template. Minimal boilerplates teach structure faster than complex starter kits.
Check your editor's settings for auto-save and live preview refresh intervals. Auto-save prevents lost work, and a fast refresh cycle (under one second) means you see changes almost instantly. These small configuration tweaks reduce friction and keep your focus on learning markup rather than fighting the tool. If the editor supports browser preview, enable it so you can see your page exactly as visitors would.
Step 3: Write and Fix HTML with AI Assistance
Generating Markup from Prompts
Here's where an AI HTML editor truly earns its keep. Instead of Googling "how to make a table in HTML" and copying a Stack Overflow answer, you can type a prompt like "create a three-column pricing table with headers for Plan, Price, and Features." The AI generates the markup, properly nested and semantically tagged. You then review the output, learn from the structure, and modify it to fit your needs. This workflow is faster than writing from scratch and more educational than copy-pasting.
Try generating a navigation bar, a contact form, and a footer in three separate prompts. Compare the output structures. You'll notice patterns: how lists are used for navigation, how form elements nest inside fieldsets, how the footer tag differs from a generic div. These patterns become muscle memory over time. The AI acts as a tutor that shows correct structure through example rather than abstract explanation.
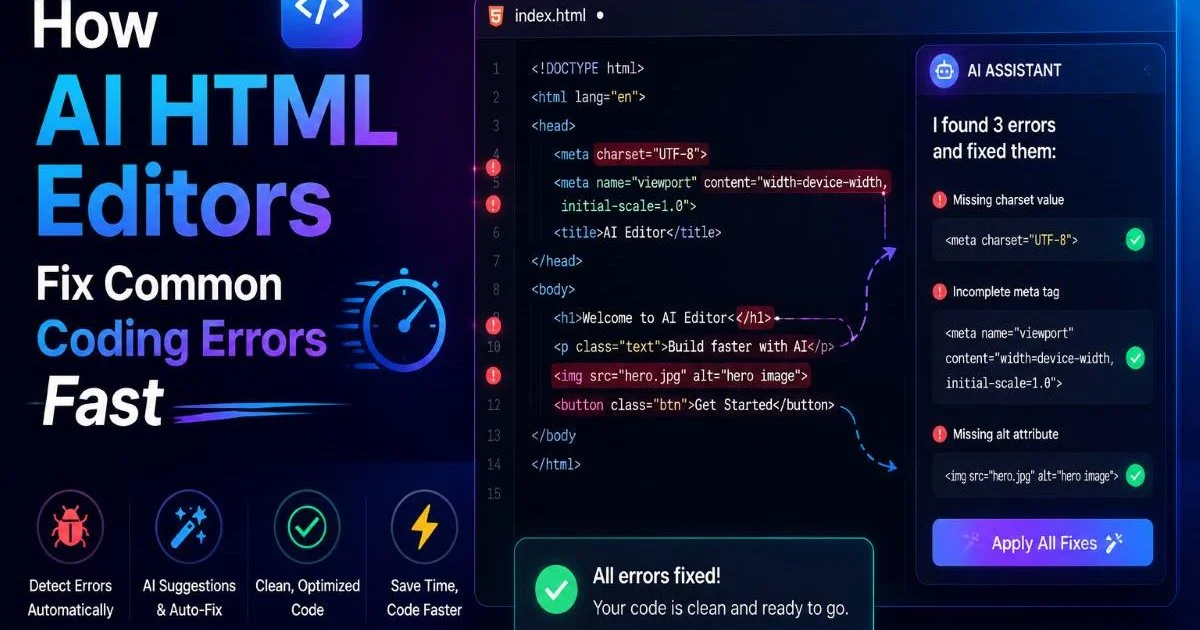
Fixing Errors on the Fly
Intentionally break something. Delete a closing tag, misspell an attribute, or nest elements incorrectly. Watch how the AI responds. A good editor will underline the problem, explain what's wrong, and offer a one-click fix. This feedback loop is where most of the learning happens. You understand why a rule exists when you see the consequences of breaking it. For a deeper look at how these correction systems work, check out how AI HTML editors fix common coding errors at speed.
Error handling goes beyond syntax. Modern AI editors also flag semantic mistakes, like using heading tags out of order (jumping from h2 to h4) or placing interactive elements inside elements that shouldn't contain them. These are the kinds of issues that pass basic validation but cause real problems for screen readers and search engine crawlers. Learning to fix HTML errors using AI-powered tools builds habits that serve you well as projects grow in complexity.
"The fastest way to learn HTML is to break it on purpose and let the AI show you exactly what went wrong."
| Error Type | Example | AI Response | Severity |
|---|---|---|---|
| Unclosed tag | <p>Text without closing | Highlights and auto-closes | High |
| Misspelled attribute | scr instead of src | Suggests correct spelling | High |
| Skipped heading level | h2 followed by h4 | Warns about accessibility impact | Medium |
| Missing alt text | <img src="photo.jpg"> | Prompts to add descriptive alt | Medium |
| Deprecated tag | <center> or <font> | Recommends CSS alternative | Low |
| Invalid nesting | <a> inside <a> | Flags and restructures elements | High |
Deliberately introduce one error per practice session. Fixing it yourself (with AI guidance) builds deeper understanding than error-free coding.
Step 4: Validate, Optimize, and Ship
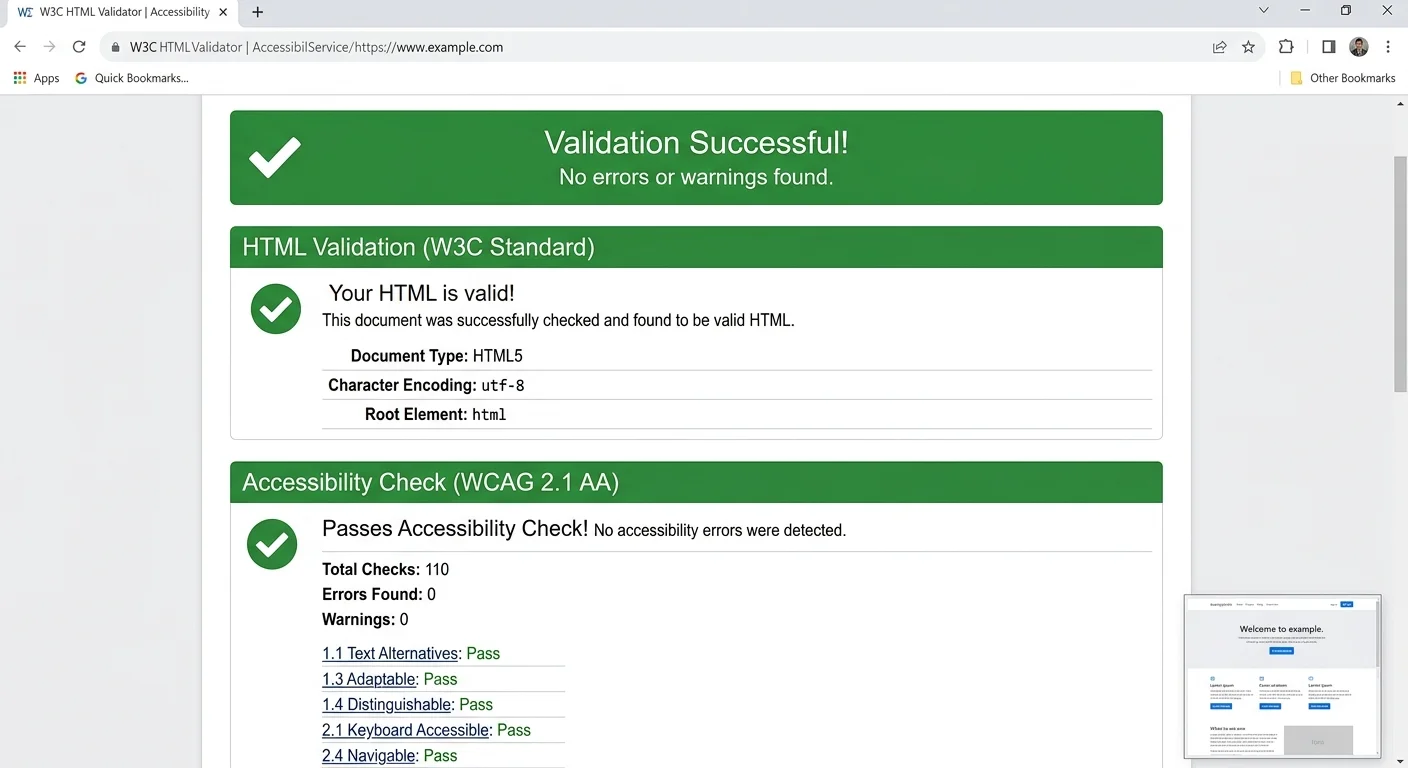
Writing HTML is only half the job. Before you publish anything, run a full validation pass. Your AI HTML editor likely has a built-in validator, but it's worth also checking your output against the W3C Markup Validation Service for a second opinion. Discrepancies between your editor's AI and the official validator reveal edge cases and help you calibrate your understanding of what "valid HTML" actually means in practice.
Optimization extends to file size and load performance. Remove unnecessary whitespace, comments left over from debugging, and any generated code you didn't end up using. Clean markup loads faster and is easier to maintain. Some AI editors offer a "clean up" or "minify" command that handles this automatically. Use it, but read the output to make sure it didn't strip something you need, like conditional comments for older browser support.
Accessibility and Security Checks
Run your finished HTML through your editor's accessibility scanner. Check for proper heading hierarchy, sufficient color contrast references in any inline styles, descriptive link text, and ARIA labels where needed. These aren't optional extras; they affect real users and are increasingly required by law in many jurisdictions. Getting accessibility right from your first project builds it into your default workflow rather than treating it as an afterthought.
Security matters too, even for static HTML pages. If your markup includes forms, embedded scripts, or iframes, you need to be aware of common vulnerability patterns. Understanding the top vulnerability types that security scanners find gives you a baseline awareness of what attackers look for. An AI editor won't replace a full security audit, but it can flag obvious issues like missing form action attributes or unsafe iframe configurations before they become problems.
Never publish forms without validating their action URLs and input sanitization, even on simple portfolio sites.
Once validation, optimization, and security checks pass, you're ready to deploy. For beginners, free hosting platforms like GitHub Pages or Netlify offer straightforward deployment from a Git repository or a drag-and-drop interface. Push your clean, validated HTML, verify it renders correctly in multiple browsers, and celebrate. You've just completed a full development cycle with the help of an AI-powered editing environment.
Frequently Asked Questions
?How do I test an AI HTML editor before committing to it?
?Is VEX better than GitHub Copilot for HTML beginners?
?Can I learn HTML properly if an AI is fixing my mistakes for me?
?Do free tiers of AI HTML editors cover enough for a beginner project?
Final Thoughts
Starting with an AI HTML editor doesn't mean skipping the fundamentals. It means learning them faster, with better feedback, and fewer moments of staring at broken code wondering what went wrong.
The four steps above give you a repeatable process: pick the right tool, configure your workspace, write and fix code with AI guidance, then validate and ship. Each project you complete using this workflow deepens your HTML knowledge while building a real portfolio. Treat the AI as a patient tutor, not a crutch, and you'll outgrow beginner status faster than you expect.
Disclaimer: Portions of this content may have been generated using AI tools to enhance clarity and brevity. While reviewed by a human, independent verification is encouraged.